
Sourdough, the slow and happy way
A jar of flour, water and a little patience: that is all a sourdough starter is. Here are our practical answers to the questions we hear most, from how to keep a starter happy to how to begin your own.
At Finca Verdevida we bake homemade, quality sourdough bread, and it tastes best fresh. You can order it by WhatsApp and we will get back to you.
Your sourdough questions, answered
Tap a question to open it. Amounts are by weight, and times are a guide: a warm kitchen is faster, a cool one is slower. Your starter will tell you when it is ready.
Your baked bread
How do I store a baked sourdough loaf?
Sourdough is made to keep well, and a few simple habits help it along:
- Once cut, stand the loaf cut side down on a wooden board. The crust on the other side protects the crumb from drying out.
- For longer keeping, put it in a linen or cotton bread bag or a bread box. The bread can breathe, so the crust stays crisp and the crumb stays soft.
- Avoid plastic bags for a crusty loaf: they trap moisture and make the crust soft and chewy.
- Do not keep it in the fridge. Bread goes stale faster at fridge temperature. Room temperature, or the freezer, is better.
How many days does sourdough bread keep?
Stored as described above, a loaf is at its best for about 3–4 days and still good for toasting for several days more. In hot weather, which we know well here in southern Spain, bread dries out and can go mouldy sooner, so count on two or three days in summer. If you see any mould, throw the whole loaf away.
Can I freeze sourdough bread?
Yes, and it works very well. Freeze it while it is fresh, ideally on the day you buy or bake it.
- Sliced: slice the loaf first, put the slices in a freezer bag and press out the air. Take out only what you need and put the slices straight into the toaster, no thawing needed.
- Whole: wrap the loaf tightly, in a freezer bag or in foil and then a bag. To thaw, leave it in its wrapping at room temperature for 2–3 hours, then refresh it in the oven (see below).
Frozen bread keeps its quality for about 3 months. Do not freeze it again once it has thawed.
How do I refresh bread that has gone a little dry?
This brings the crust back to life, and it tastes almost like fresh from the oven:
- Heat the oven to about 180–200 °C.
- Quickly run the loaf under the tap, or spritz it all over with water. The crust should be damp, not soaking.
- Put it straight on the oven rack and bake for 5–10 minutes, until the crust crackles and the bread is warm through.
- Let it cool for a few minutes and enjoy it the same day. A refreshed loaf does not keep, so it is best not to refresh it twice.
For a cut loaf or a large piece, use a little less water and keep an eye on it.
What is the best way to revive single slices?
Use the toaster: slightly dry slices turn crisp outside and soft inside. You can also warm them in a dry pan or with a drizzle of olive oil, or in the oven with a light spritz of water for a couple of minutes.
What can I do with really stale bread?
Please do not throw it away. Old sourdough is good for lots of things:
- Croutons: cut into cubes, toss with olive oil, salt and herbs and bake until golden.
- Toast and bruschetta: grill a thick slice and rub it with garlic and ripe tomato, the way we do it in Spain.
- Breadcrumbs: dry it completely and grind it. Keep it in a jar.
- French toast, panzanella, or in gazpacho and salmorejo: they all love day-old bread.
Starting your own starter
What do I need?
- A clean glass jar (about 500 ml to 1 litre) and a spoon.
- Wholemeal wheat or rye flour for the first days, then bread flour.
- Lukewarm water, around 25 °C, chlorine-free if possible.
- A warm spot, around 22–26 °C, and a little patience.
- A kitchen scale makes everything easier.
Day by day: the first week
- Day 1: mix 50 g wholemeal (or rye) flour with 50 g lukewarm water in the jar. Stir well, cover loosely and leave in a warm place.
- Day 2: you may see a few bubbles, or nothing at all. Both are fine. Give it a good stir and let it rest.
- Day 3: keep about 50 g of the mixture and discard the rest. Add 50 g flour (half wholemeal, half white is fine) and 50 g water. Stir and cover.
- Day 4: repeat: keep 50 g, add 50 g flour and 50 g water. The mixture should now be bubbly and smell a little sour, sometimes a bit funky.
- Day 5: repeat. If your kitchen is warm and the starter rises and falls quickly, feed it twice a day, morning and evening.
- Day 6: repeat. Watch how long it takes to rise after each feeding.
- Day 7 and beyond: keep feeding once or twice a day. When the starter reliably doubles within 4–8 hours, has plenty of bubbles and smells pleasantly tangy, it is ready for your first bread. In a cool kitchen this can take two weeks or more.
Tip: a smaller start works just as well. Use 20 g of everything instead of 50 g if you do not want to throw so much away.
It was bubbling and then stopped. Did I do something wrong?
No, this is very common. Around day 2–4 the first bacteria make a burst of bubbles and then settle down while the yeast and good lactic bacteria take over. Keep feeding on schedule. After a few days it starts rising properly again.
Troubleshooting: what if…
- Nothing is happening: move it somewhere warmer (22–26 °C), use more wholemeal or rye flour, and check your water. Wait a few more days before judging.
- There is liquid on top: the starter is hungry. Stir it in or pour it off and feed it a little more often, or with more flour and water.
- It smells of nail polish or vinegar: also hunger. Feed it more often, or with a larger ratio like 1 : 2 : 2.
- It is very thick or very runny: the water to flour ratio should be about equal by weight. Adjust a little with each feeding.
- There is fuzzy mould, or pink or orange streaks: throw it away, wash the jar well and start again. Do not try to rescue it.
Feeding and refreshing
How do I feed my starter?
“Feeding” means giving the starter fresh flour and water. The classic ratio is 1 : 1 : 1 by weight: starter, flour and water.
- Keep a small amount of starter in the jar, for example 20 g, and discard the rest (or use it, see below).
- Add 20 g flour and 20 g water.
- Stir well until there are no dry bits, scrape down the sides and cover loosely.
- Leave it at room temperature until it has risen and is bubbly.
Use any bread flour, ideally with a spoonful of wholemeal or rye mixed in: the extra nutrients make the starter livelier. Lukewarm water is best, and if your tap water smells strongly of chlorine, let it stand for an hour or use filtered water.
What ratio should I use, and how often?
- 1 : 1 : 1 peaks in about 4–6 hours in a warm kitchen. Good for feeding once or twice a day.
- 1 : 2 : 2 peaks in about 6–10 hours. A good everyday ratio.
- 1 : 5 : 5 peaks in about 10–14 hours. Handy overnight or in warm weather, because the starter has more food to last.
The more flour and water in relation to the starter, the slower it rises. Choose the ratio that fits your day.
How do I get my starter ready before baking?
If it has been in the fridge, take it out and feed it at room temperature. After one or two feedings, 12–24 hours apart, it should rise reliably. Bake with it when it is at its peak or just after: domed, full of bubbles and smelling pleasantly sweet-sour. Remember to set a spoonful aside and feed it again, so you always have a starter for the next loaf.
How do I know my starter is active and ready?
- It doubles in size within about 4–8 hours of feeding.
- It is full of bubbles, also at the sides of the jar, and the top is domed or frothy.
- It smells pleasantly yeasty and tangy, a little like yoghurt or beer, not sharp like nail polish.
- Bonus test: a spoonful dropped in a glass of water floats. It is a good sign, but not a guarantee, so trust the rise first.
After its peak the starter slowly falls back. That is normal and tells you it is time to feed or bake.
What do I do with the discard?
Discarding keeps the amount manageable and the starter fresh. You can use it for pancakes, waffles, crackers or flatbreads. Or keep the starter small from the beginning (for example 10 g starter + 10 g flour + 10 g water) so almost nothing is wasted.
Storing your starter
Should I keep my starter in the fridge or at room temperature?
It depends on how often you bake.
- Baking once a week or less: keep it in the fridge and feed it about once a week. It sleeps and needs very little attention.
- Baking several times a week: keep it on the counter (ideally around 20–24 °C) and feed it once or twice a day.
Both ways work. The fridge is the easy way, the counter is the lively way.
What kind of jar should I use?
A clean glass jar, big enough for the starter to at least double. Cover it loosely, with the lid resting on top or a cloth held by a rubber band, so gas can escape. A tightly sealed jar can build up pressure. Put a rubber band or a piece of tape at the starter’s level after feeding, so you can see how much it has risen.
How long can a starter stay in the fridge?
Feeding it once a week is ideal. Many starters survive two to four weeks without a feed, and some much longer, but they get hungrier and more sour. A grey or dark liquid on top (people call it “hooch”) just means the starter is hungry: stir it in or pour it off, then feed.
If your starter has been forgotten for a long time, do not give up. Remove any dry crust, scoop out a little from the inside, and give it a few feedings at room temperature. It usually wakes up within a few days.
How do I go on holiday without losing my starter?
Feed it, let it rise for an hour or two, and put it in the fridge. For a longer break you can spread a thin layer on baking paper, let it dry completely, break it into flakes and keep them in a closed jar. To revive, soak a spoonful of flakes in water and feed it with flour as usual.
Would you rather skip the waiting and taste the real thing? At Finca Verdevida we bake homemade, quality sourdough bread. Order it on WhatsApp and we will get back to you.
A little sourdough gallery
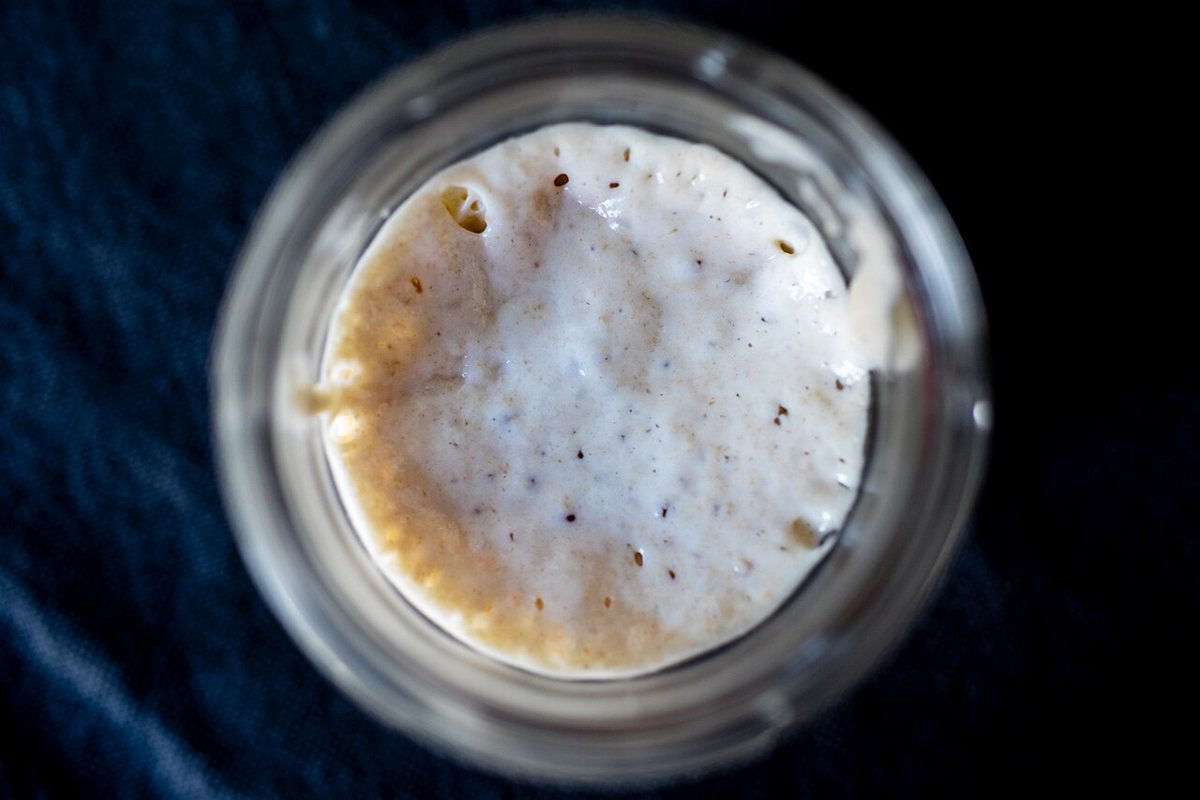

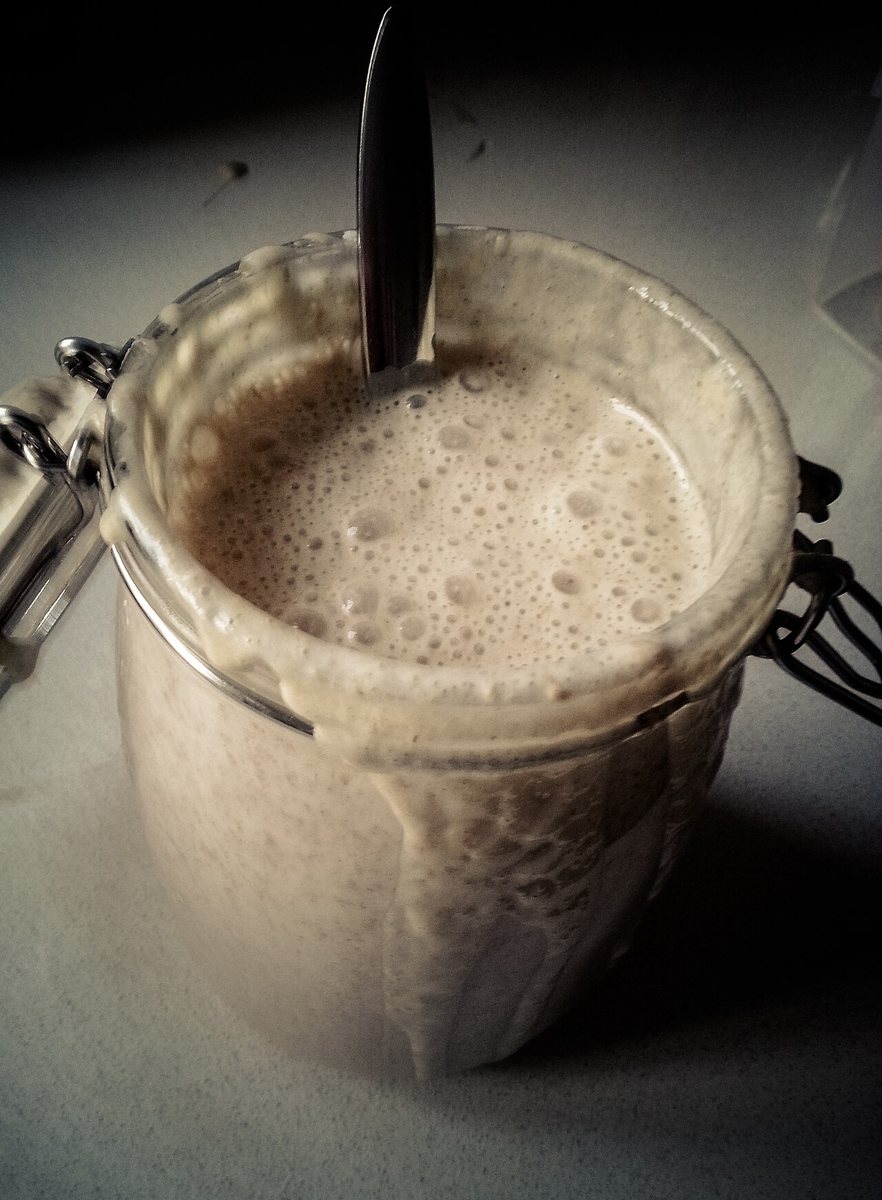

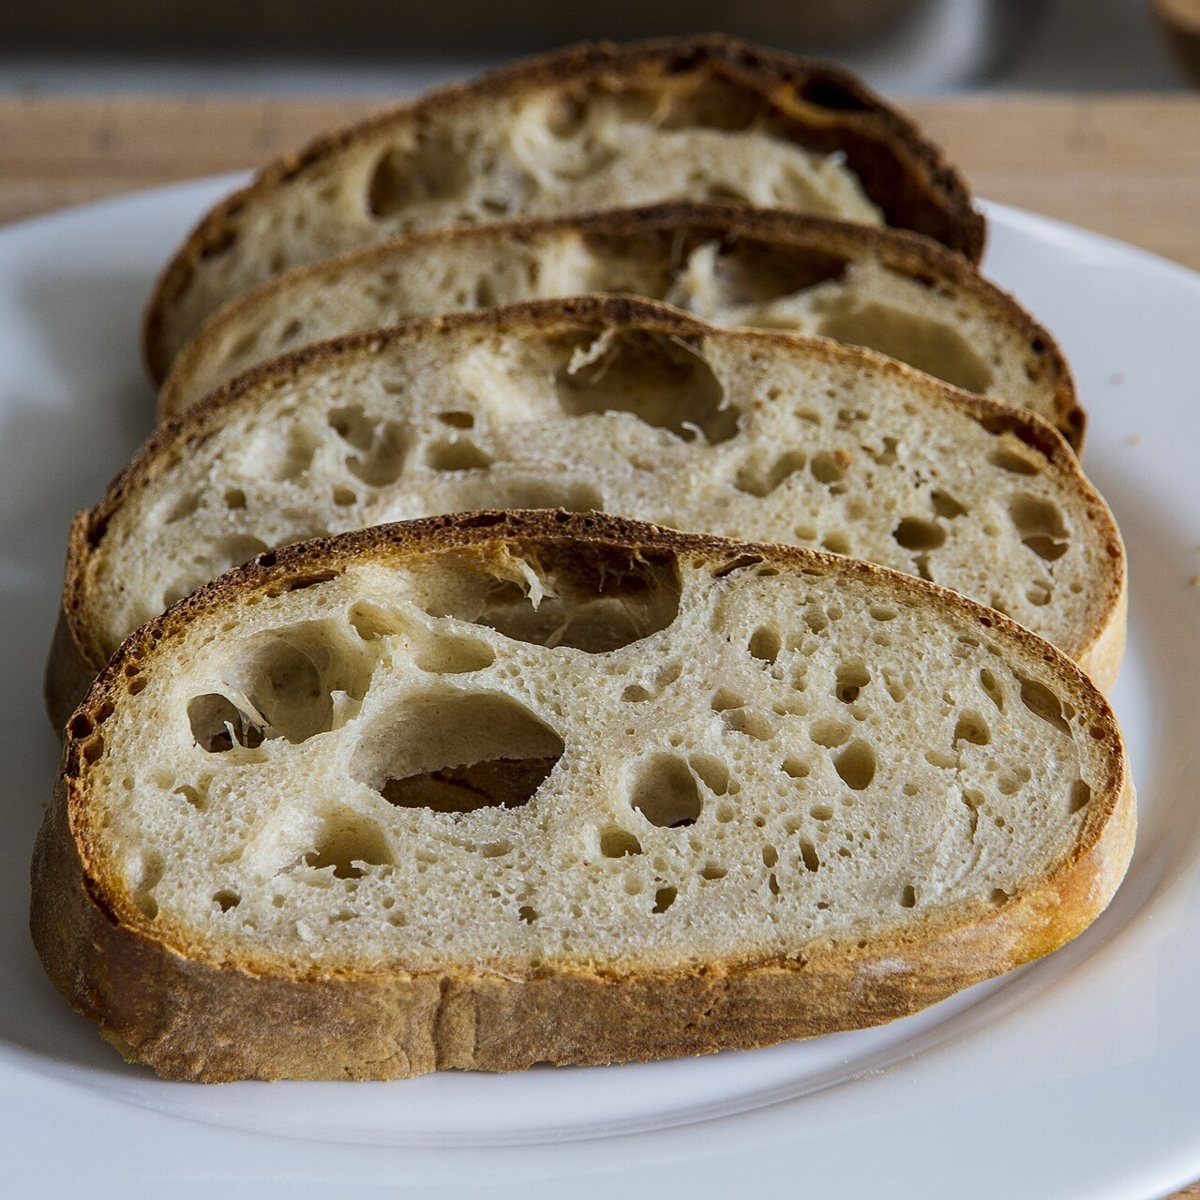

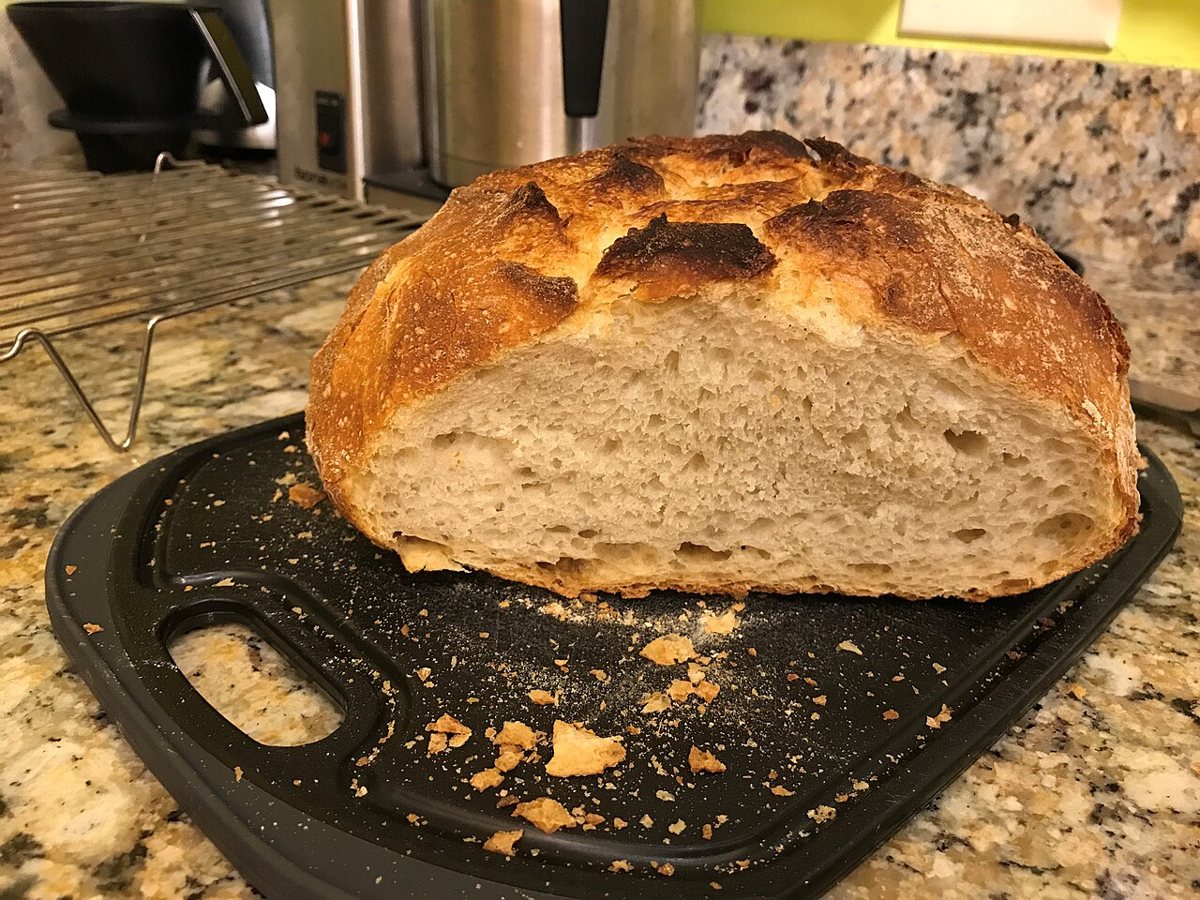

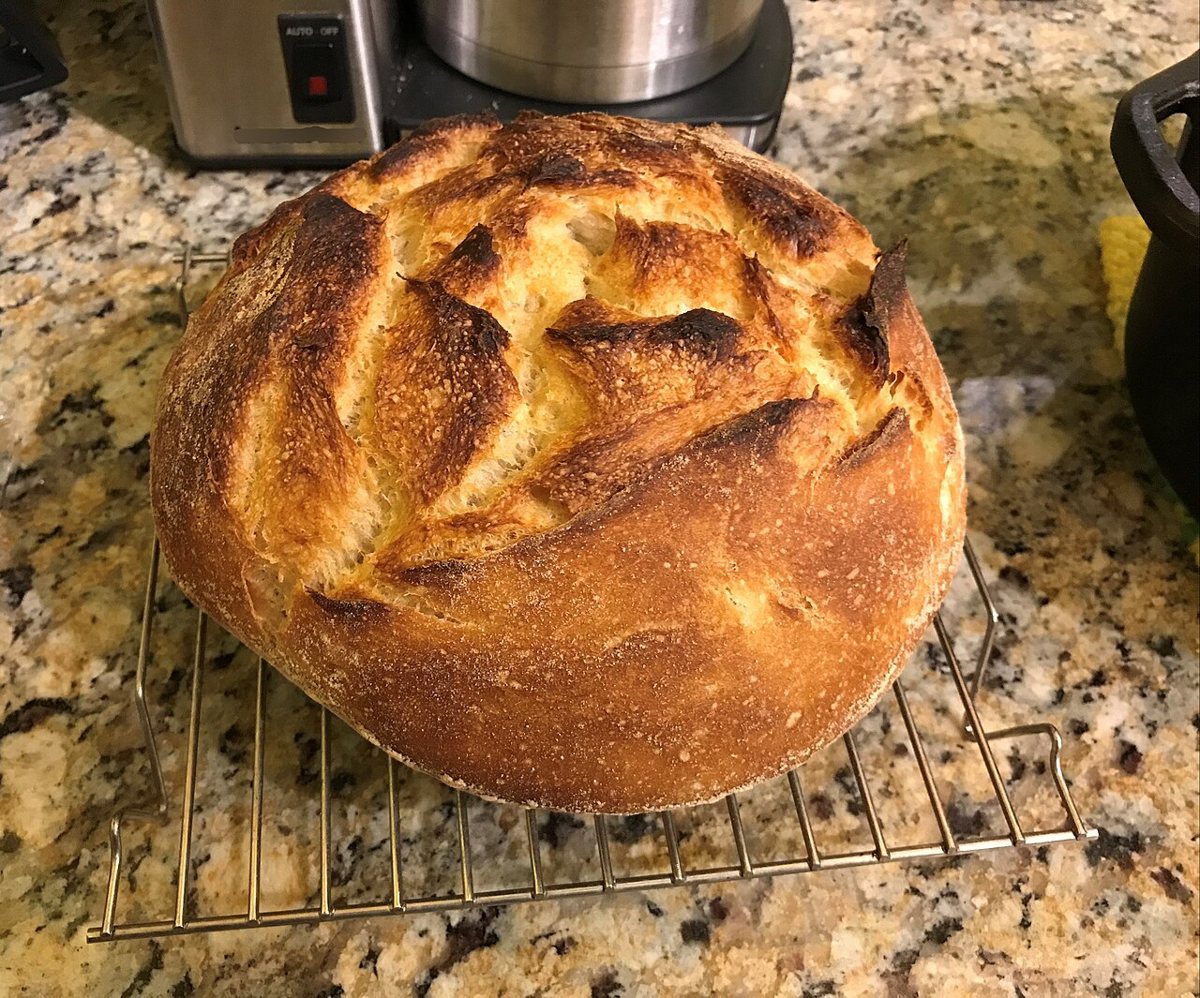
Photo credits: the loaf at the top of this page is by Nutrition, Food Safety & Health (CC0, Wikimedia Commons). These are illustrative stock photos and not pictures of our own bread. Resized for this website.
